Share
ShareStep-by-Step Guide to Setting Up a Leased Line Connectivity
-
 November 13, 2025
 -

 6 min read

Step-by-Step Guide to Setting Up an Internet Leased Line Connection for Your Business
As businesses increasingly rely on cloud applications, video conferencing, and real-time data transfers, the need for high-performance, reliable internet connectivity has never been greater. For many organisations, leased line connectivity emerges as the ideal solution, offering dedicated bandwidth, symmetrical speeds, and robust Service Level Agreements (SLAs). But how exactly do you go about setting up a lease line connection for your business? In this article, we’ll walk you through the process, step by step.
Assessing Your Business Needs
Before diving into the setup process, it’s crucial to evaluate your organisation’s specific connectivity requirements:


- Data Volume and Type: Consider the amount and nature of data your business handles daily. Do you rely heavily on bandwidth-intensive applications like video conferencing, cloud backup, or ERP systems?
- Number of Users: How many employees will be using the leased line? Factor in both current headcount and projected growth.
- Latency Sensitivity: Some applications, such as VoIP and financial trading platforms, demand ultra-low latency. Assess your business’s tolerance for latency.
Based on these factors, you can determine the appropriate bandwidth for your leased line. Typical options range from 10 Mbps to 10 Gbps, with higher speeds available for large enterprises.
Selecting a Provider
With your requirements in hand, it’s time to evaluate potential leased line connectivity providers. Key considerations include:
- Reputation and Track Record: Look for providers with a proven history of reliability and customer satisfaction.
- Coverage: Ensure the provider has network presence in all your business locations.
- SLAs: Scrutinise the provider’s service level commitments for uptime, latency, and repair times.
- Scalability: Choose a provider that can easily accommodate bandwidth upgrades as your business grows.
- Support: Evaluate the quality and responsiveness of the provider’s customer support.
Most providers will conduct a site feasibility check to assess the technical viability and infrastructure availability at your premises before proceeding with a quote.
Placing the Order
Once you’ve selected a leased line connectivity provider, submit a detailed quote request outlining your specific requirements. Carefully review the provider’s proposal, paying close attention to:
- Pricing and contract terms
- SLA specifics
- Hardware inclusions
- Installation timelines
- Support provisions
After finalising the details, place the order and sign the contract to formally initiate the installation process.
Site Survey and Planning
The provider will dispatch engineers to conduct a comprehensive technical site survey. This involves:
- Mapping the optimal cable route
- Identifying potential obstacles like roads or buildings
- Assessing entry points and internal cabling needs
- Determining if existing infrastructure can be utilised or if civil works are required
The survey culminates in detailed site diagrams, risk assessments, and installation plans.
Legal and Administrative Processes
Before physical installation can begin, several legal and administrative steps must be completed:
- Wayleave Agreements: Obtaining permission from landlords, building owners, or local authorities to run cables across third-party property.
- Permits and Approvals: Securing necessary permissions for road digging, pole mounting, or infrastructure work.
- Utility Coordination: Synchronising with other utility providers to avoid damage and ensure regulatory compliance.
Your leased line connectivity provider will typically handle these processes, but be prepared to provide supporting documentation as needed.
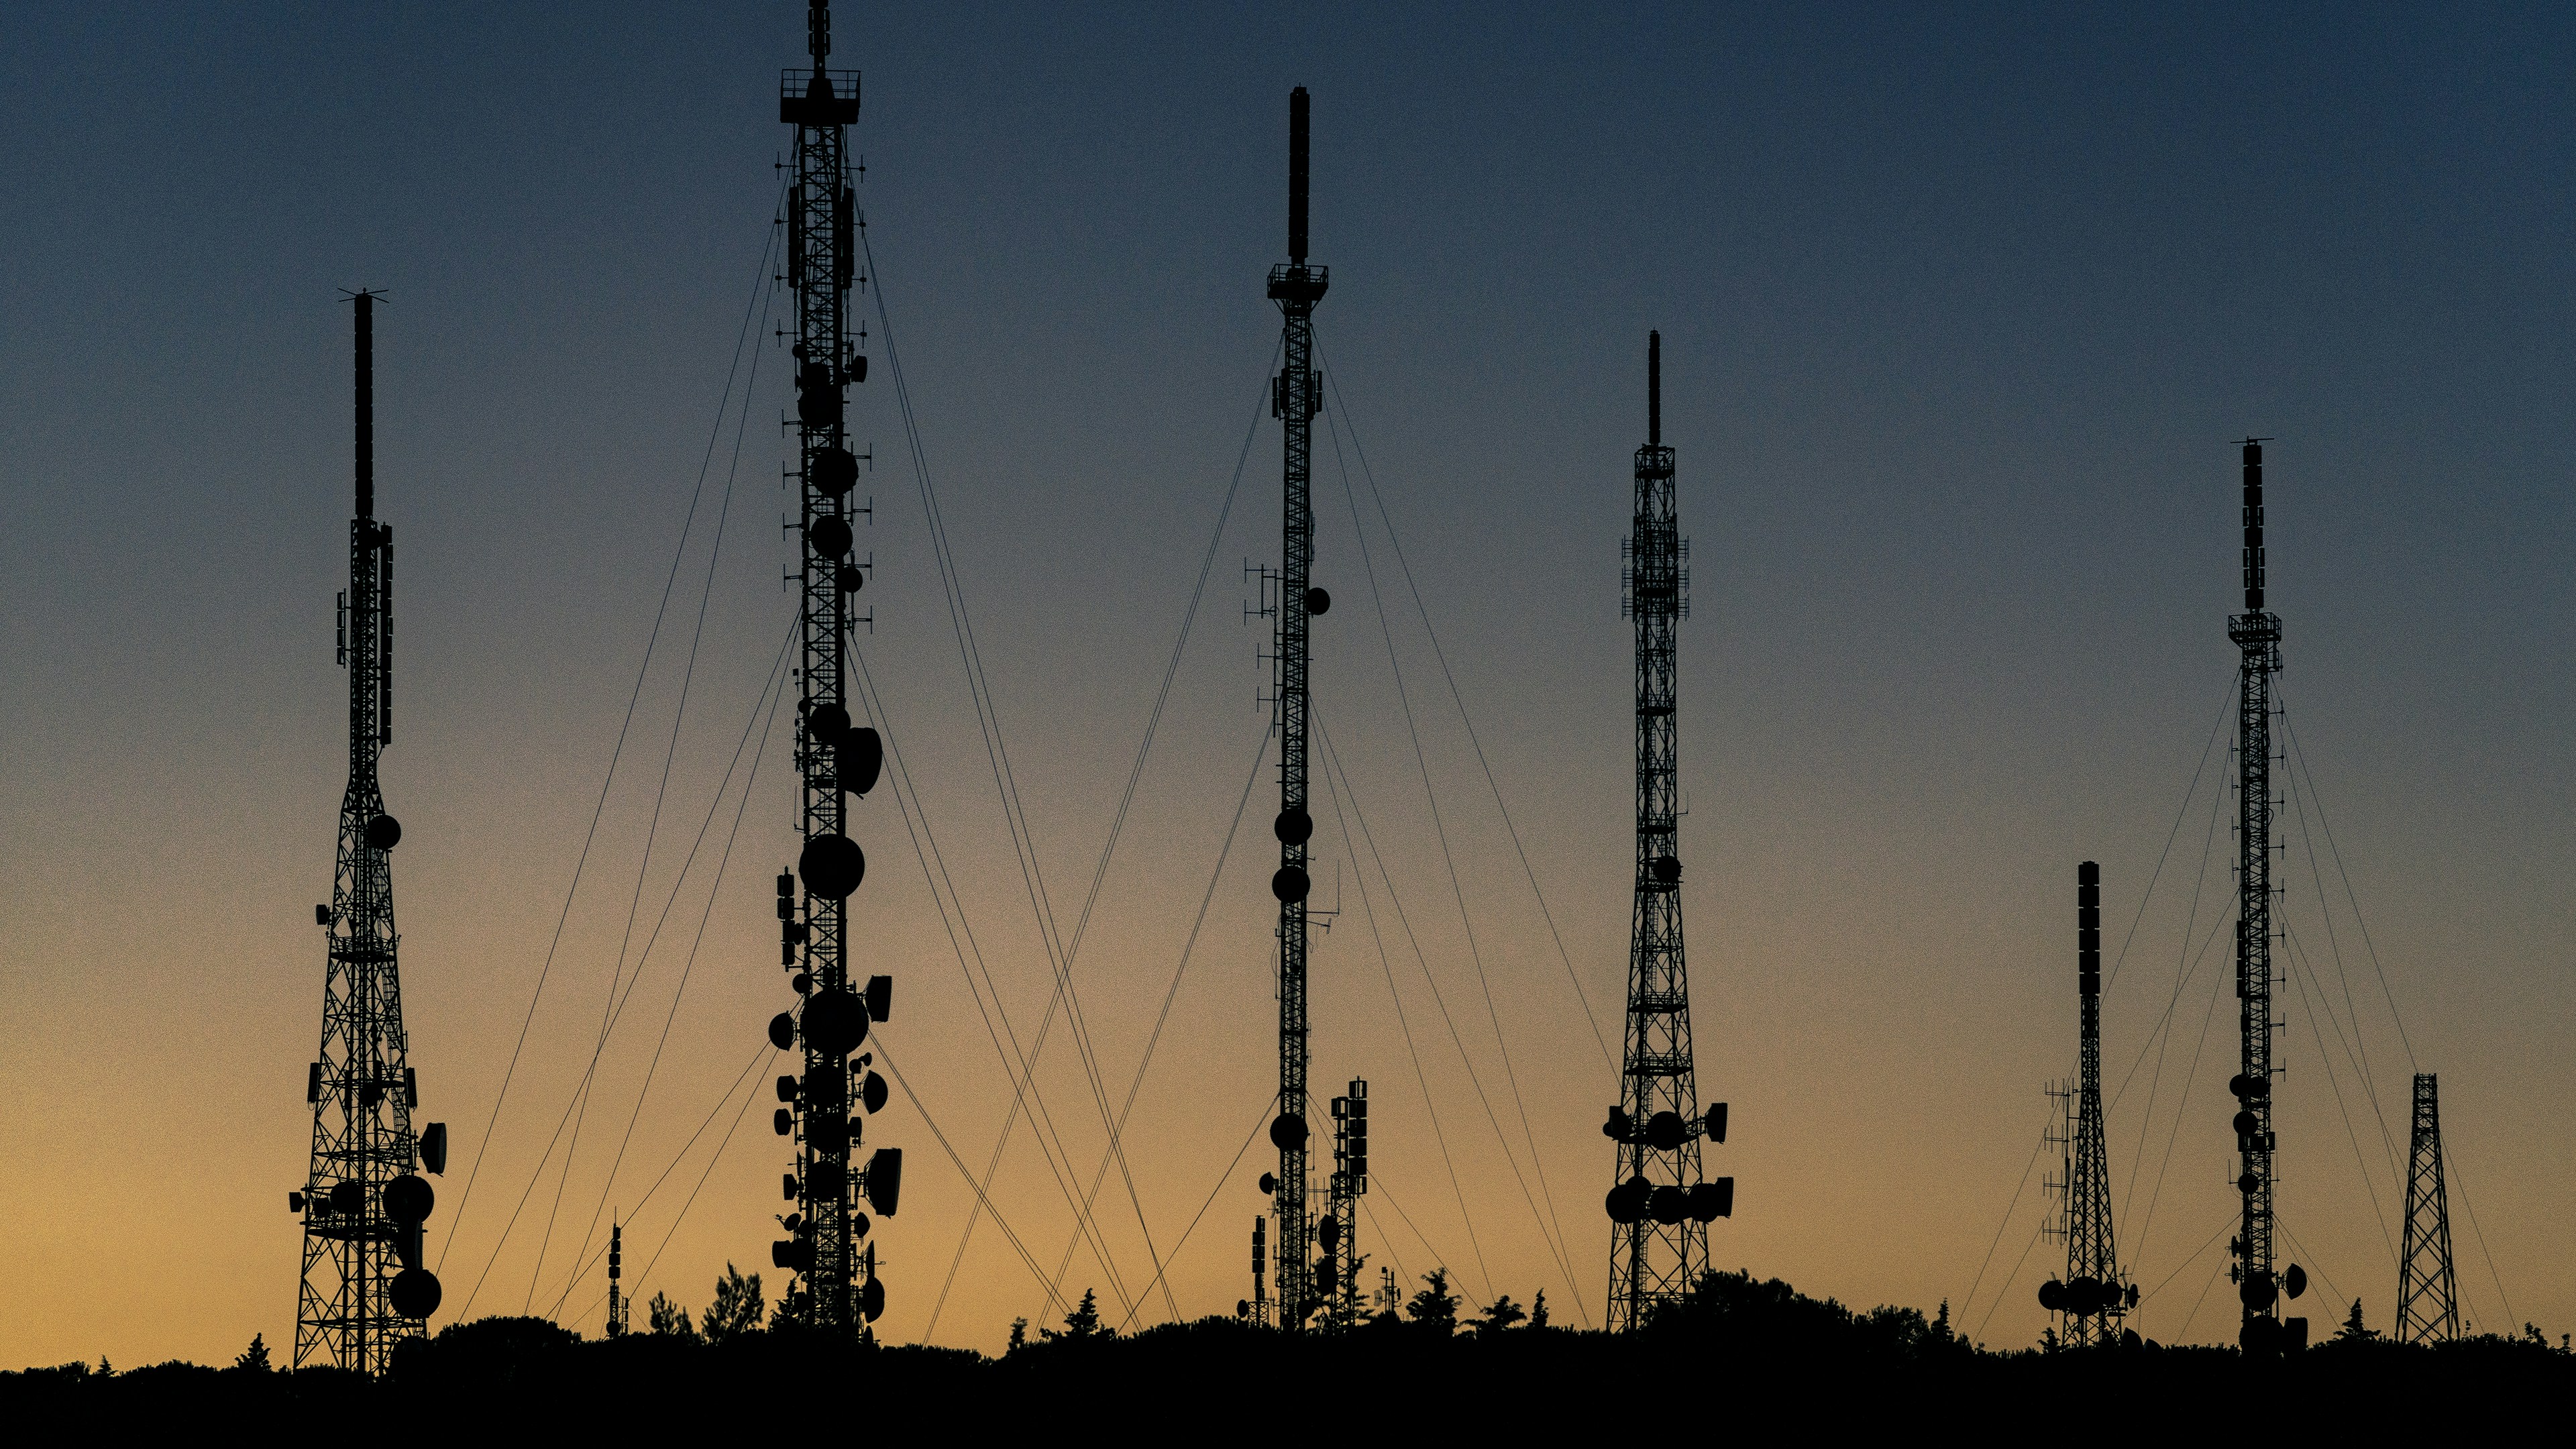
Physical Installation and Civil Works
With approvals in place, the actual installation of your lease line connection can commence. This stage involves:
- Cabling: Laying fiber optic or copper cables from the provider’s nearest Point of Presence (PoP) to your premises. This may entail trenching roads, running cables through ducts, or installing aerial lines.
| Installation Scenario | Typical Timeline |
| Existing Infrastructure | 2-4 weeks |
| Minor Civil Works | 4-8 weeks |
| Major Construction | 8-24 weeks |
- Construction: Installation of manholes, ducting, and internal cabling within your building.
The timeline for this phase can vary widely depending on the complexity of the build.
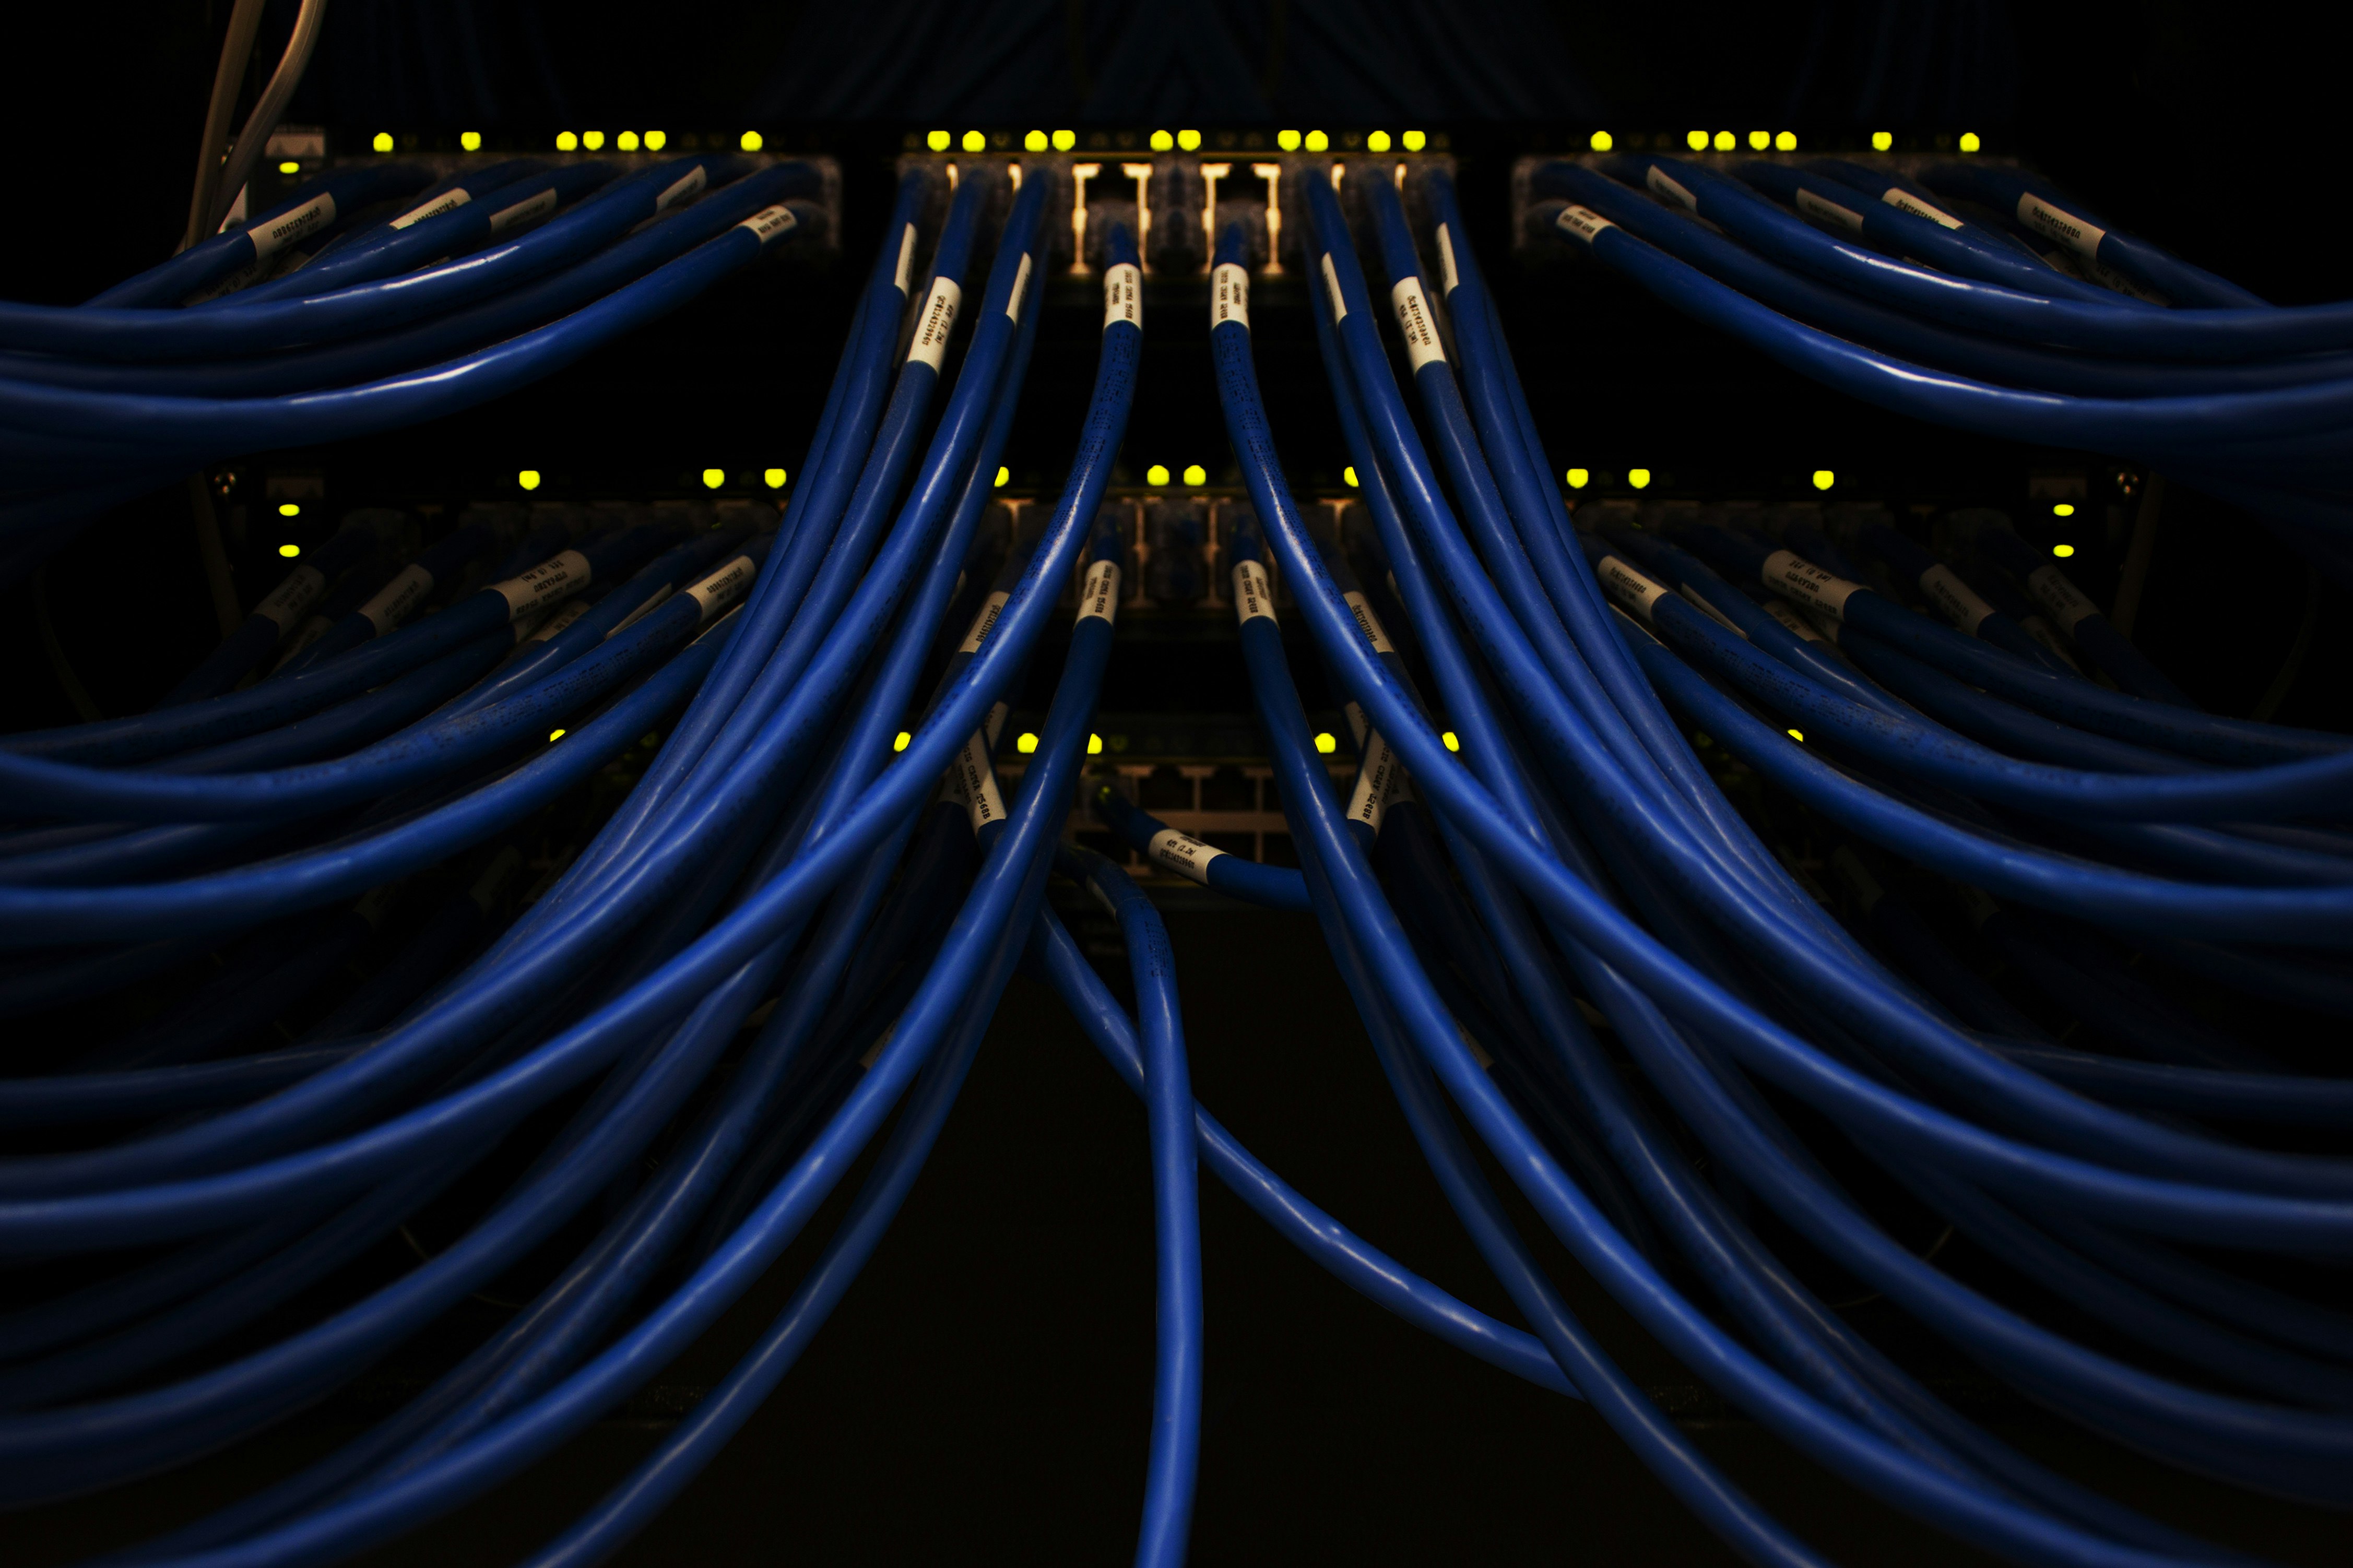
Hardware Setup and Configuration
With the physical line in place, the provider’s engineers will install and configure the necessary termination equipment:
- CSU/DSU: For traditional leased lines, a Channel Service Unit/Data Service Unit (CSU/DSU) is installed to terminate the line and manage signal conversion.
- Router/Firewall: The provider will typically supply a business-grade router or firewall, which connects to the leased line handoff (usually an Ethernet port) and forwards traffic to your network.
- Wiring and Patch Panels: The leased line termination point is connected to your internal network switches or firewalls via structured cabling.
Testing and Handover
Before the lease line connection goes live, the provider conducts rigorous “fit and test” procedures:
- Connecting and activating the line
- Installing and configuring termination equipment
- Testing physical and logical connectivity back to the provider’s core network
- Validating throughput, latency, packet loss, and redundancy/failover
- Troubleshooting and resolving any detected issues
Once testing is complete, the line is officially handed over to the provider’s network operations team.
Network Integration and Go-Live
The final step is to integrate your new leased line into your business’s network environment:
- IP Address Assignment: The provider allocates static IP addresses as per your contract.
- DNS and Firewall Configuration: Set up DNS routing, firewall rules, and network segmentation policies.
- SD-WAN/MPLS/Cloud Integration: If applicable, configure the leased line as a node in your SD-WAN, MPLS, or hybrid cloud architecture.
- Application Routing: Assign critical applications to leverage the leased line’s dedicated bandwidth.
- User Acceptance Testing: Conduct end-user testing to validate application performance and user experience.
Upon successful testing, your leased line is ready to serve your business with high-speed, reliable connectivity.
Ongoing Support and Maintenance
While the setup process is complete, your partnership with the leased line provider continues. Key support and maintenance aspects include:
- 24/7 Monitoring: Providers continuously monitor the line for faults and performance issues.
- SLA Adherence: Providers are contractually bound to meet stipulated repair and uptime commitments.
- Troubleshooting: Access to rapid-response support for diagnosing and resolving any connectivity problems.
- Upgrades and Scalability: Options to increase bandwidth, add failover links, or enhance redundancy as your business requirements evolve.
Setting Up Your Internet
Setting up an Internet lease line connection is a multi-faceted process involving careful planning, site assessments, physical installation, hardware configuration, and network integration. By understanding the key steps and partnering with a reputable provider, your business can unlock the benefits of dedicated, high-performance connectivity. Whether you’re supporting bandwidth-hungry applications, connecting branch offices, or enabling seamless cloud access, a well-implemented leased line provides the speed, reliability, and scalability your business demands.
For organisations seeking a trusted partner in their connectivity journey, Airtel Internet Leased Line offers tailored solutions backed by an extensive network, robust SLAs, and 24/7 support. With Airtel, you can confidently navigate the leased line setup process and empower your business with connectivity that’s built for the future.