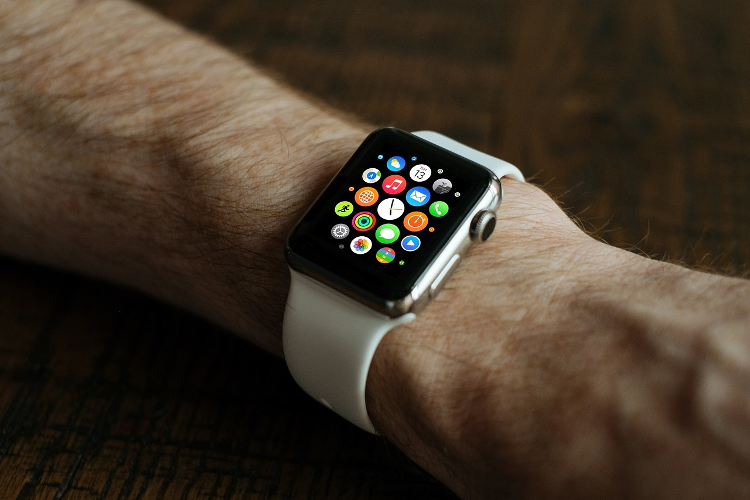
Are you ready to unleash the true potential of your Apple Watch by activating eSIM connectivity? With eSIM technology, your Apple Watch can connect to cellular networks independently, allowing you to make calls, send messages, stream music, and more—all without needing your iPhone nearby. In this comprehensive guide, we’ll walk you through the step-by-step process of how to activate e-sim on Apple Watch in 2025, ensuring you meet all the necessary requirements and enjoy a seamless setup experience.
Requirements for Activating eSIM on Apple Watch
Before diving into the activation process, let’s ensure your devices and plans meet the essential requirements for eSIM connectivity.
Compatible Models
To use eSIM technology, you must have an Apple Watch Series 3 (GPS + Cellular) or a newer model. Check your watch’s specifications to confirm compatibility.
Software and Connectivity
Your iPhone and Apple Watch should be running the latest operating system versions. During the setup process, your iPhone needs a stable Wi-Fi or cellular network connection.
Carrier Support
Not all carriers offer eSIM support for Apple Watch. Check with your carrier to verify if they provide this service in your region.
Cellular Plan
An active cellular plan that allows the addition of an Apple Watch is necessary. Some older plans and prepaid accounts might not be compatible, so consult your carrier for confirmation.
Step-by-Step Guide: How to Activate eSIM on Apple Watch
Follow these steps to set up and activate eSIM on your Apple Watch:
Step 1: Check Compatibility and Prepare Devices
- Open the Apple Watch app on your iPhone and look for the “Mobile Data” tab. If it’s missing, your watch may not support eSIM.
- Ensure your iPhone and Apple Watch are connected to the internet (Wi-Fi or cellular) and have Bluetooth enabled.
Step 2: Pair Your Apple Watch to Your iPhone
- If you haven’t already, pair your Apple Watch to your iPhone. Keep your phone connected to the internet, turn on Bluetooth, and follow the on-screen instructions to complete pairing.
Step 3: Set Up Cellular on Apple Watch
- In the Apple Watch app on your iPhone, go to the “My Watch” tab.
- Tap “Cellular” and then “Set Up Cellular”.
- Follow the prompts to log in to your carrier account and provide any required information, such as account details and eSIM plan information.
- Review and agree to the terms and conditions. Note that an activation fee (usually ₹500-₹1000) may apply.
Step 4: Activate eSIM Profile
- Wait a few minutes for the eSIM profile to download and install. You’ll receive a notification once the service is activated.
- Open the Apple Watch app and verify that the new data plan appears under the “Cellular” tab.
| Requirement | Details |
| Compatible Models | Apple Watch Series 3 (GPS + Cellular) or newer |
| Software and Connectivity | Latest OS versions, iPhone connected to Wi-Fi or cellular |
| Carrier Support | Check with your carrier for eSIM support |
| Cellular Plan | Active plan that supports adding an Apple Watch |
Additional Tips and Considerations
- You can use the same eSIM on both your iPhone and Apple Watch simultaneously, sharing the same phone number and cellular plan across devices.
- If switching to a different Apple Watch, cancel the service on the current watch and re-register the new one.
- To avoid activation errors, ensure your Apple Watch is compatible with eSIM technology.
- Check that your carrier supports eSIM in your region to prevent connection problems.
Benefits of Using eSIM on Apple Watch
- Independence from iPhone: With eSIM, your Apple Watch can connect to cellular networks independently, providing greater flexibility and convenience.
- Flexibility in Plans: You can have separate cellular plans for your iPhone and Apple Watch, managing connectivity options independently.
- Convenience: eSIM technology is incredibly convenient, especially during outdoor activities like running or at the gym, where carrying an iPhone may not be practical.
By following these steps and meeting the necessary requirements, you can successfully activate eSIM on your Apple Watch and enjoy enhanced functionality and user experience. With eSIM connectivity, your Apple Watch becomes an even more powerful and versatile companion, keeping you connected even when your iPhone isn’t nearby.
The Airtel Thanks app offers a comprehensive platform for managing various Airtel services, including mobile recharges, bill payments, and more. With features like easy eSIM setup for compatible devices, the app enhances your connectivity experience. Download the Airtel Thanks app today to explore its many benefits and simplify your digital life.